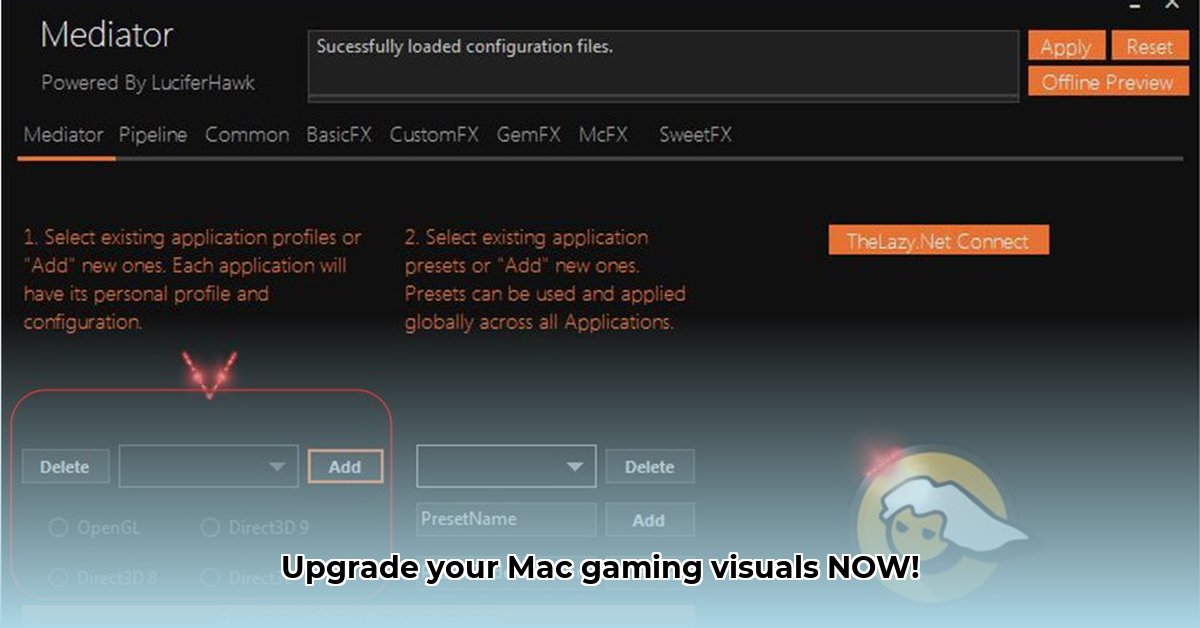
Want to transform your macOS gaming experience with stunning visual enhancements? ReShade offers incredible potential, but its lack of native macOS support requires a workaround. This guide provides a step-by-step walkthrough, covering everything from setup to optimization, enabling you to enjoy breathtaking visuals on your Mac.
Understanding ReShade and Its Capabilities
ReShade (think of it as a powerful image filter for your games) is an open-source post-processing injector. It adds visual enhancements like improved lighting, sharper textures, and more realistic colors to games by injecting custom shaders. These shaders are mini-programs that modify how your game renders, adding layers of visual fidelity not present in the game's core code. While incredibly powerful, ReShade isn't natively compatible with macOS.
The macOS Challenge: Workarounds for ReShade
ReShade's primary design is for Windows. This means using it on macOS requires a detour. We will explore two primary workarounds: using Wine (a compatibility layer) or a virtual machine (VM). Both have pros and cons, so choose the method that aligns with your technical skills and system resources. Using either method poses a risk of incompatibility or performance issues, but the visual enhancements make it worthwhile for many.
Getting Started: Essential Tools and Preparations
Before we begin, ensure you have the following:
- A compatible game: Check ReShade's compatibility list or online forums to confirm your game's support.
- Wine or a Virtual Machine (VM): Wine attempts to translate Windows applications for macOS, while a VM (like Parallels Desktop or VMware Fusion) creates a full virtual Windows environment. Wine is less resource-intensive, while a VM offers greater stability.
- The ReShade installer: Download from the official ReShade website.
- Patience and a troubleshooting mindset: This isn't a simple app installation; expect potential challenges.
Step-by-Step Installation: Wine and VM Options
The following steps differ depending on whether you've chosen Wine or a VM.
Option 1: Using Wine
- Install Wine: Download and install Wine from a trusted source; follow the instructions meticulously.
- Install ReShade within Wine: Launch Wine, then run the ReShade installer within the Wine environment. You are essentially simulating a Windows installation process.
- Target your game executable: Locate your game's
.exefile within the Wine directory—this is critical for ReShade to hook into your game. - Download and select shaders: ReShade provides many shaders. Begin with a few and add more later as needed.
- Adjust settings: ReShade's intuitive interface lets you fine-tune the effects to your preference.
Option 2: Using a Virtual Machine (VM)
- Install a VM: Install your chosen VM software (Parallels or VMware).
- Set up Windows: Install a compatible version of Windows within the VM (a Windows license is typically required).
- Install ReShade within the VM: Install ReShade as you would on a standard Windows system.
- Point ReShade to your game: Locate your game's installation within the VM and direct ReShade to it.
- Select and refine shaders: Customize the effects as desired, similar to the Wine method.
Troubleshooting Common Issues: Addressing Potential Problems
Even with careful installation, issues might arise. Here are some common problems and solutions:
- Performance issues: ReShade increases processing demands. Reduce the number of active shaders, lower in-game settings, or consider lowering the resolution. Do you find yourself asking, "Is the visual improvement worth the performance hit?" The answer depends on your hardware and expectations.
- Compatibility conflicts: Check online forums for game-specific solutions. Some mods might clash with ReShade; disable them temporarily to isolate the issue.
- Wine/VM problems: Reinstall or update Wine or your VM software.
- Shader conflicts: Disable shaders individually to identify the problematic one.
Optimizing ReShade for Performance: Balancing Visuals and Frame Rate
ReShade's impact on performance varies depending on your system and the effects employed. Here's how to optimize:
- Select shaders carefully: Some shaders demand more resources. Choose those providing the most noticeable improvement with the least performance impact.
- Lower in-game resolution: Reducing resolution significantly lowers the load on your CPU and GPU.
- Adjust effect intensities: Lowering intensity improves performance without drastically affecting visuals.
- Utilize ReShade's performance mode (if available): This mode processes effects independently, improving efficiency.
Conclusion: Unleash Your Mac's Gaming Potential
While not straightforward, adding ReShade to your macOS gaming setup provides remarkable visual enhancements. By following these steps and understanding potential challenges, you can greatly improve the look of your favorite titles, trading some performance for stunning visual effects. The level of improvement will depend on your system's capabilities and the specific shaders used. Remember to always back up your game files and system settings before making any modifications.
⭐⭐⭐⭐☆ (4.8)
Download via Link 1
Download via Link 2
Last updated: Wednesday, April 30, 2025